
-

Phone: +86-400-678-0576
-

E-mail: Stevenhan@cnbsj.com
-

Fax: +86-576-85726668


 English
 русский
 عربى
 Español
NEWS

How a Single Bowl and a Double Bowl Sink Drain Differ
 2026.11.09
 Industry News
Content
- 1 Parts of a Kitchen Sink Drain and What Each One Does
- 2 Standard Kitchen Sink Drain Sizes and Rules to Know
- 3 Single Bowl Sink Drain: Layout and When It Fits
- 4 Double Bowl Sink Drain: Layout, Continuous Waste, and Disposal Connections
- 5 Single Bowl vs Double Bowl Sink Drain at a Glance
- 6 Materials and Finishes for a Kitchen Sink Drain
- 7 How to Install a Kitchen Sink Drain Step by Step
- 8 Leaks and Slow Draining: Causes and Fixes
- 9 How to Choose the Right Kitchen Sink Drain Kit
- 10 Everyday Maintenance for a Kitchen Sink Drain
- 11 Frequently Asked Questions
- 11.1 1. What is the difference between a Single Bowl Sink Drain and a Double Bowl Sink Drain?
- 11.2 2. What size is a standard Kitchen Sink Drain opening?
- 11.3 3. Does a Double Bowl Sink Drain need two traps?
- 11.4 4. How deep should the water seal in a P trap be?
- 11.5 5. Can I put a garbage disposal on a Single Bowl Sink Drain?
- 11.6 6. Why does my double bowl sink back up into the other bowl?
- 11.7 7. Should I use plumber's putty or silicone under the strainer?
- 11.8 8. How tight should the slip nuts be?
- 11.9 9. Why does my kitchen sink drain smell?
- 11.10 10. How do I connect a dishwasher to a kitchen sink drain?
A Single Bowl Sink Drain serves one basin and needs one strainer, one tailpiece, and one trap. A Double Bowl Sink Drain serves two basins, so it needs two strainers and two tailpieces that join through a tee, called a continuous waste, into a single trap. The strainer opening is the same on both, so the main differences are the number of parts and the extra pipe needed to join the two outlets. Either way, every Kitchen Sink Drain has the same job: move wastewater out of the sink quickly, trap food scraps, and keep sewer gas from entering the home through a water seal in the trap.
In practical terms, choose a single bowl layout if you have a small cabinet or want the simplest, easiest to clean plumbing. Choose a double bowl layout if you often wash and rinse at the same time, or want one side free for a disposal. The sections below cover the parts, the standard sizes, how each layout is plumbed, how to install and maintain a drain, and how to buy the right kit the first time.
Parts of a Kitchen Sink Drain and What Each One Does
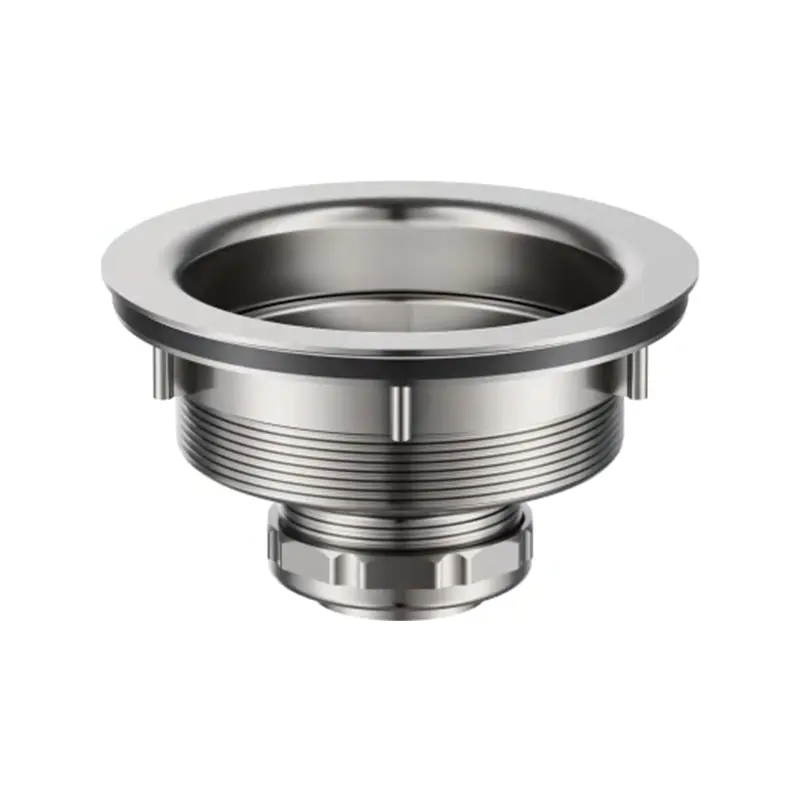
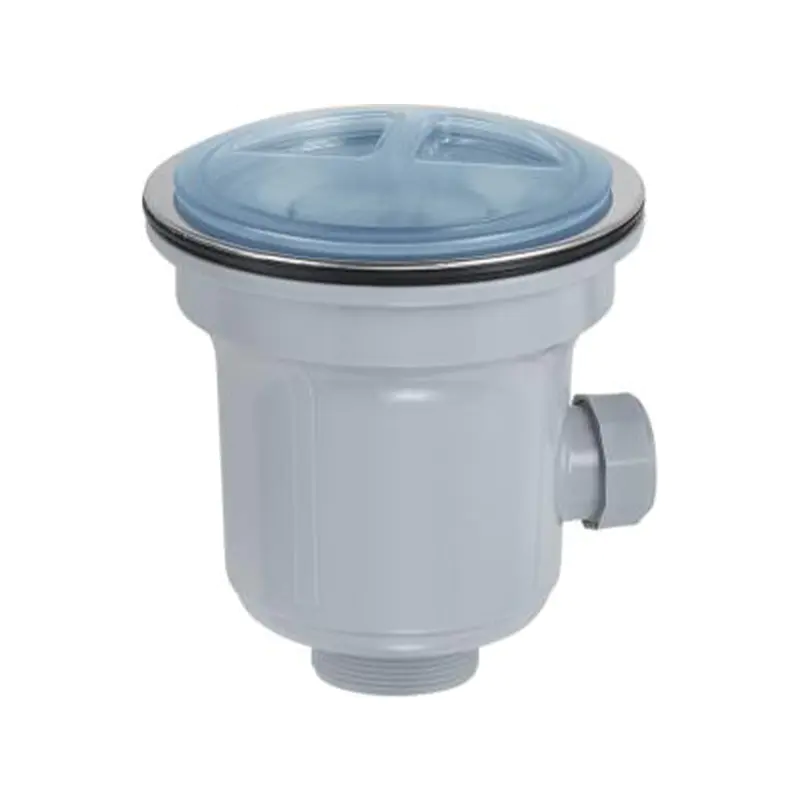
A kitchen sink drain looks complicated under the cabinet, but it is made of a small set of standard parts. Knowing their names makes it much easier to buy the correct replacements and to find the source of a leak.
| Part | Function | Common Material |
|---|---|---|
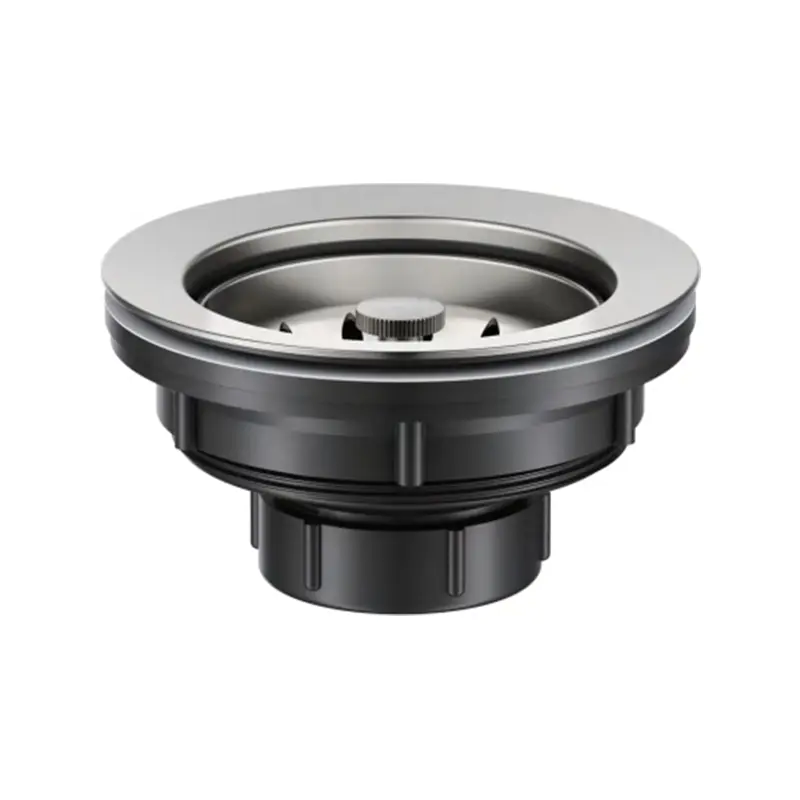
| Strainer body and flange | Sits in the sink opening, seals the sink edge, and catches large food pieces | Stainless steel, brass, plastic |
| Basket or stopper | Removable cup that holds back debris, and in some designs closes the drain | Stainless steel, plastic |
| Rubber gasket and friction washer | Seal the underside of the sink around the strainer | Rubber, fiber |
| Mounting nut | Pulls the strainer tight against the sink | Brass, plastic |
| Tailpiece | Straight pipe that carries water down from the strainer | Brass, plastic, stainless steel |
| Continuous waste tee | Joins two tailpieces from a double bowl sink into one line | Plastic, brass |
| P trap | Holds a water seal that blocks sewer gas | Plastic, brass |
| Trap arm and wall stub out | Connect the trap to the drain pipe in the wall or floor | Plastic, brass |
| Slip nuts and washers | Create watertight joints between the pipes without glue | Plastic, brass, rubber |
Standard Kitchen Sink Drain Sizes and Rules to Know
Most kitchen sink drain parts follow a small number of standard sizes, which makes them interchangeable between brands. Local plumbing codes vary, so treat the figures below as typical values and check your local rules before you build or change a drain.
| Item | Typical Value | Why It Matters |
|---|---|---|
| Sink drain opening | 3.5 inch (about 90 mm) | Strainers and disposals are made for this size |
| Tailpiece and trap diameter | 1.5 inch (38 mm) in North America, often 40 mm in the UK and Europe | Fittings must match the pipe diameter |
| Trap water seal depth | 2 to 4 inches (50 to 100 mm) | Blocks sewer gas without causing slow draining |
| Horizontal pipe slope | About 1/4 inch per foot (2 percent) | Keeps flow moving so solids do not settle |
| Distance from strainer to trap | Commonly no more than 24 inches | Limits how far the trap sits below the sink |
| Trap arm length | Often up to about 6 feet for 1.5 inch pipe | Longer runs need a vent to prevent siphoning |
Two of these points cause most installation problems. The first is the trap seal: a trap that is too shallow loses its water and lets odors through, while one that is too deep can slow drainage. The second is the slope: too little slope leaves solids sitting in the pipe, while a very steep run can leave water behind in the trap. Aim for a gentle, even fall toward the wall.
Single Bowl Sink Drain: Layout and When It Fits
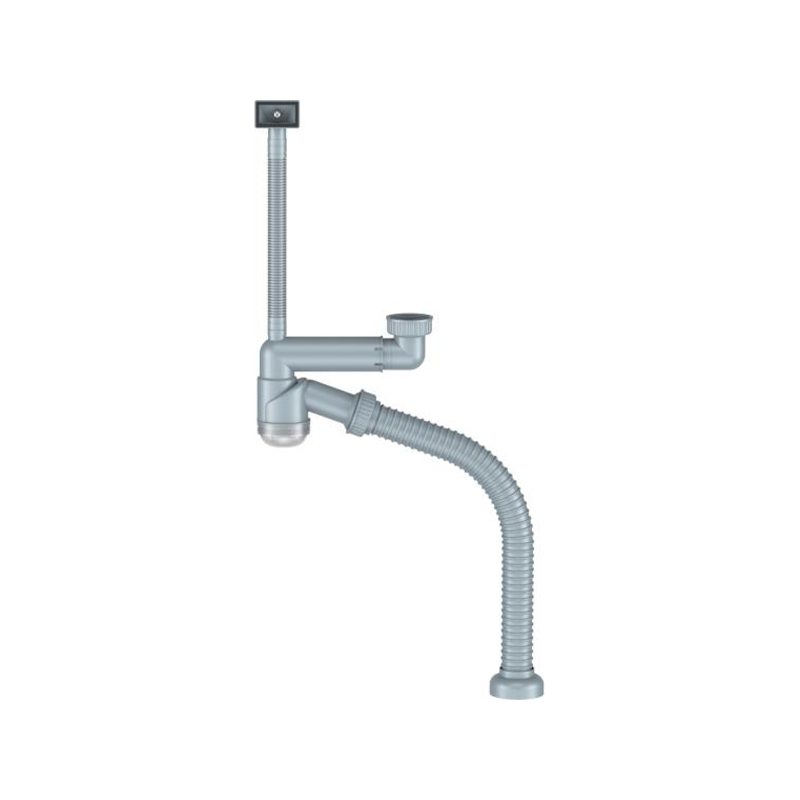
A Single Bowl Sink Drain is the simplest arrangement. One strainer sits in the sink opening, one tailpiece drops straight down, and a P trap connects it to the trap arm and the wall. There are only a few joints, so there are fewer places to leak and less to clean when a clog forms.
Strengths of a Single Bowl Layout
- Fewer parts: a basic kit usually has one strainer, one tailpiece, one trap, and two or three slip joints.
- Easier to service: a straight run from the strainer to the trap is easy to reach with a plunger or hand auger.
- Fits small cabinets: single bowl sinks are common in base cabinets of about 24 to 30 inches, where a double bowl layout would not fit.
- Large basin: one wide, deep bowl handles baking sheets and big pots that will not fit in a half size bowl.
Limits of a Single Bowl Layout
With one bowl, you cannot soak dishes while rinsing others, and a disposal takes over the only drain. If you use a disposal often, plan to work around it, for example with a separate dish rack and a bowl for soaking.
Double Bowl Sink Drain: Layout, Continuous Waste, and Disposal Connections
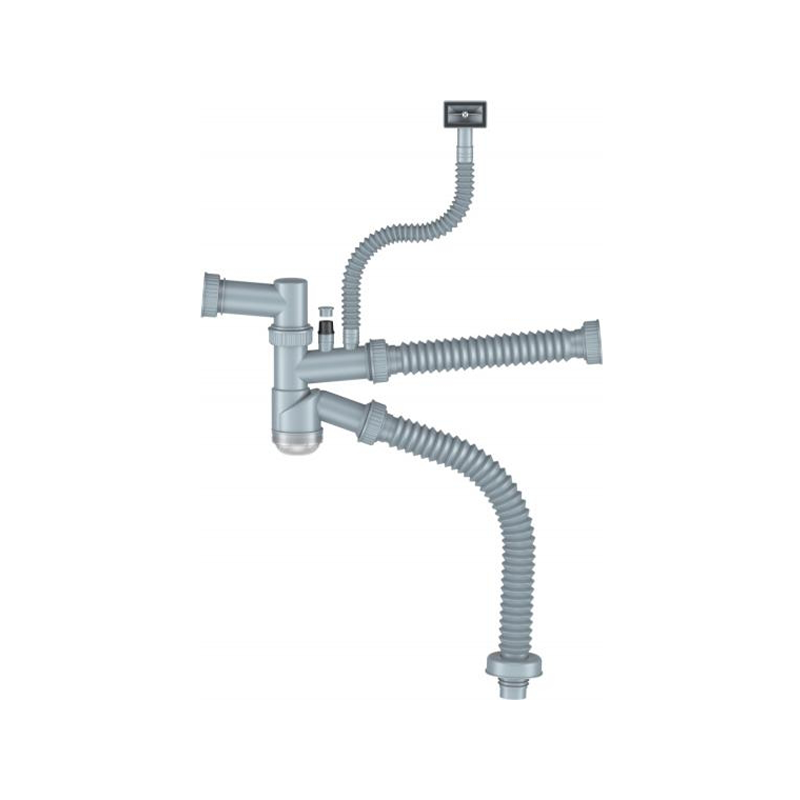
A Double Bowl Sink Drain has two strainers, one in each bowl. Their tailpieces run down to a tee fitting, the continuous waste, which combines both outlets into one pipe that continues to a single P trap. Many plumbing codes allow one trap to serve two or three adjacent sink compartments when the outlets are close together, often within about 30 inches. Confirm your local rule, but this is why double bowl sinks normally need only one trap.
Measuring and Matching the Two Outlets
The tee must line up with both tailpieces. Measure the distance between the two drain centers before you buy. On many standard double bowl sinks it falls in the range of about 16 to 18 inches, but the figure varies by sink, and some designs have unequal bowls or offset drains. Continuous waste kits come with a horizontal tee arm that can be cut to length, so measure carefully and cut to fit. If the two bowls have different depths, use tailpieces of different lengths so that both reach the tee with a gentle slope.
Adding a Garbage Disposal
In a double bowl layout, the disposal usually goes under one bowl, replacing the strainer there with a disposal flange. The other bowl keeps a normal strainer. The disposal outlet then connects to the continuous waste, using the tee, and the second bowl's tailpiece joins on the other side. Many disposals have an outlet designed to connect to a standard waste arm, so check your model for the correct connection.
Connecting a Dishwasher
The dishwasher drain hose connects either to a dishwasher inlet on the disposal or to a branch tailpiece on the sink drain. Two details are often missed. If you connect to a new disposal, you must knock out the plug in the dishwasher inlet, or the dishwasher will not drain. And the hose should rise in a high loop to the underside of the countertop, or pass through an air gap where local rules require it, so dirty water cannot flow back into the dishwasher.
Single Bowl vs Double Bowl Sink Drain at a Glance
| Feature | Single Bowl Sink Drain | Double Bowl Sink Drain |
|---|---|---|
| Strainers needed | One | Two |
| Traps | One | Usually one, shared through a tee |
| Joints and leak points | Fewer | More |
| Installation difficulty | Easier | Moderate, needs alignment |
| Cabinet size | Fits small and standard cabinets | Usually needs a wider cabinet |
| Disposal use | Takes the only drain | Leaves one bowl free |
| Best fit | Small kitchens, large pots, simple plumbing | Busy kitchens, washing and rinsing together |
Materials and Finishes for a Kitchen Sink Drain
The material of the strainer and the pipes affects lifespan, price, and appearance. Choose according to how visible the parts are and how hard the drain will be used.
| Material | Strengths | Limits |
|---|---|---|
| Stainless steel (304 grade) | Rust resistant, easy to clean, matches stainless sinks | Higher price than plastic, thin walls can dent |
| Brass with chrome or other finish | Strong, durable, many finishes | Finish can wear, costs more |
| PVC, ABS, or polypropylene plastic | Low cost, corrosion free, easy to cut and fit | Less heat tolerance, less premium look |
Grade 304 stainless steel, which contains about 18 percent chromium and 8 percent nickel, is the usual choice for strainers because it resists rust and the acids in food. Hidden pipes under the cabinet are often plastic for cost, while the trap may be brass where it is visible or needs extra strength.
How to Install a Kitchen Sink Drain Step by Step
This sequence applies to both layouts. In a double bowl installation, repeat the first steps for the second strainer before joining the tailpieces. Wear gloves and place a bucket under the trap before you disconnect any existing pipes.
- Remove the old drain: loosen the slip nuts, pull off the trap, and unscrew the mounting nut under the sink. Clean the sink opening thoroughly.
- Seat the new strainer: press a rope of plumber's putty, or a bead of silicone, around the underside of the flange. For natural stone sinks, use silicone, because putty can stain porous stone.
- Fit the gasket and nut: from below, slide on the rubber gasket, the friction washer, and the mounting nut. Tighten until the flange is snug, and wipe off any squeezed out putty.
- Attach the tailpiece: connect it to the strainer, with the slip nut and washer in the correct order. The tapered side of the washer faces the joint.
- Join the two bowls (double bowl only): connect both tailpieces to the continuous waste tee, with the horizontal arm sloping gently toward the trap.
- Fit the P trap: adjust its height, so that the trap arm has the right slope into the wall stub out. Tighten the slip nuts by hand first, then a quarter turn with pliers.
- Connect the disposal or dishwasher if present: follow the manufacturer's steps, including the dishwasher knockout and the high loop.
- Test for leaks: fill the sink, release the water, and run a dry tissue around every joint. Repeat with hot water and check again after an hour.
Do not overtighten plastic fittings. Cracks usually come from too much force, not too little, and a tight joint with a properly seated washer will hold water at hand tightness plus a small additional turn.
Leaks and Slow Draining: Causes and Fixes
| Problem | Likely Cause | Fix |
|---|---|---|
| Water around the strainer flange | Worn putty or gasket, loose nut | Reseat the strainer with fresh putty or silicone |
| Drip at a slip nut | Misaligned pipe, washer facing the wrong way, worn washer | Realign, replace the washer, retighten |
| Leak at the trap bend | Cracked plastic or corroded metal | Replace the trap |
| Slow draining | Grease and food buildup, wrong slope | Clean the trap, check slope, flush with hot water |
| Gurgling or sewer odor | Dry or siphoned trap, poor venting | Refill the trap, check the vent or air admittance valve |
| Dishwasher water in the sink | Disposal knockout still in place, no high loop | Remove the knockout, add a high loop or air gap |
How to Choose the Right Kitchen Sink Drain Kit
- Match the opening: confirm your sink has the standard 3.5 inch opening, or check the sink specification before buying.
- Match the layout: buy a single bowl kit for one drain, or a double bowl kit with a continuous waste tee for two.
- Check the pipe diameter: 1.5 inch in North America, and usually 40 mm in the UK and Europe.
- Plan for a disposal and dishwasher: choose a disposal flange or a branch tailpiece if you will connect either.
- Choose the material to suit use: stainless steel for the strainer, brass for heavy use, plastic for hidden pipes and tight budgets.
- Look for useful features: a removable basket, a sturdy locking nut, a thick rubber gasket, and adjustable pipe lengths.
- Check the warranty and parts support: replacement washers and baskets should be easy to find.
Everyday Maintenance for a Kitchen Sink Drain
- Use the strainer basket at all times, and empty it into the trash, not into the pipe.
- Wipe grease from pans before washing. Do not pour cooking oil down the drain.
- Flush the drain with hot water for a minute after washing greasy dishes.
- Clean the strainer and the trap with a brush every few months.
- Avoid strong chemical drain cleaners. They can damage pipes and are dangerous if mixed. Try a plunger or hand auger first.
- Check under the sink for dampness every few months and tighten any weeping joint early.
Frequently Asked Questions
1. What is the difference between a Single Bowl Sink Drain and a Double Bowl Sink Drain?
A Single Bowl Sink Drain has one strainer, one tailpiece, and one trap. A Double Bowl Sink Drain has two strainers whose tailpieces join through a tee into a shared trap, so it has more parts and more joints.
2. What size is a standard Kitchen Sink Drain opening?
The sink opening is typically 3.5 inches (about 90 mm). The tailpiece and trap are usually 1.5 inches (38 mm) in North America and often 40 mm in the UK and Europe.
3. Does a Double Bowl Sink Drain need two traps?
Usually not. Many plumbing codes allow a single trap to serve two or three adjacent sink compartments when the outlets are close together. Confirm the exact rule with your local code.
4. How deep should the water seal in a P trap be?
Typically between 2 and 4 inches (50 to 100 mm). That depth blocks sewer gas without slowing drainage too much.
5. Can I put a garbage disposal on a Single Bowl Sink Drain?
Yes. The disposal replaces the strainer, and its outlet connects to the trap arm. With only one bowl, you will not have a separate drain for rinsing while the disposal is in use.
6. Why does my double bowl sink back up into the other bowl?
This usually means a clog downstream of the tee, in the trap or the wall stub out, or a poor slope. Clean the trap first, then check that the horizontal waste arm slopes gently toward the wall.
7. Should I use plumber's putty or silicone under the strainer?
Plumber's putty is fine for stainless steel sinks. Use silicone for natural stone and other porous sinks, because putty can stain them. Follow the sink manufacturer's guidance where it differs.
8. How tight should the slip nuts be?
Hand tight, plus about a quarter turn with pliers. Overtightening can crack plastic nuts and distort the washers, which causes leaks instead of preventing them.
9. Why does my kitchen sink drain smell?
Common causes are food and grease residue in the strainer or trap, a dry trap, or a venting problem. Clean the basket and trap, flush with hot water, and check that the trap holds water.
10. How do I connect a dishwasher to a kitchen sink drain?
Connect the hose to the disposal's dishwasher inlet, after removing the knockout plug, or to a branch tailpiece on the sink drain. Form a high loop under the countertop, or use an air gap where local rules require it.
Recommended News

Be a top expert in underwater engineering, build a renowned international brand, become an outstanding manufacturing enterprise, and strive to be an industry leader at home and abroad.
Contact Information
Add: No. 3 Beiyang 4th Road, Beiyang Industrial Park, Shangpan, Duqiao Town, Linhai City, Zhejiang Province, China
Tel: +86-576-85726188 / +86-400-678-0576
Fax: +86-576-85726668
E-mail: boshijie8885@163.com / Stevenhan@cnbsj.com
Copyright © Zhejiang BOSHIJIE Kitchen & Bath Technology Co., Ltd. All Rights Reserved.
Privacy Custom Washbasin Sink Drainer Factory